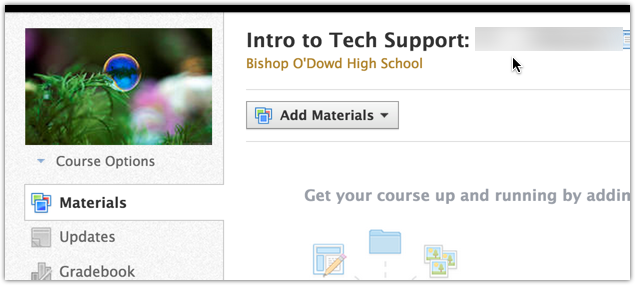
Adding a course picture to your courses not only looks visually appealing, it also helps students (and you) more easily select the course from the Schoology menu. To add a course picture:
- Navigate to a course.
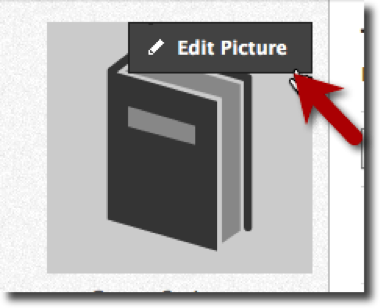
- Hover over the gray image to the left of the course until you see an Edit Picture button appear, then click.
- In the pop up window, click the Choose File button.
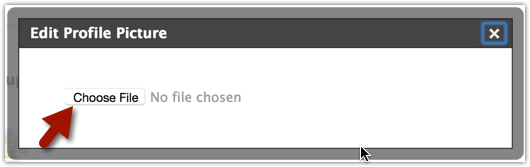
- Select a picture from your computer and click Open.
- Schoology will upload your picture and you will see it applied to your course.
Best Practice Ideas:
- Use an image with the course's period number to help both yourself and students find the course more quickly.
- Change your course picture regularly to match the unit or theme being studied.
- Use a different picture for each section you teach to help yourself distinguish between all of your courses.
Comments